
Devin Halladay

Ornella Altunyan

Matt Legrand
Today we’re releasing an experimental Figma to Replit plugin. The plugin’s goal is to streamline the process from designing with pixels to prototyping with code — generating visually accurate, responsive, HTML, CSS, and React code from your designs. This was a Hack Week project by Replit Design, and we’re excited to give the community an opportunity to try it out.
With this tool, you can now generate a Repl directly from your Figma design, and instantly share a static React app with your team. From there, you can use Replit AI to add functionality and tweak your design before deploying to production. This integration is all about enhancing your workflow, accelerating the prototyping process, and ultimately boosting developer productivity.
Figma to Replit plugin in action
Using the plugin
- Design your project: Begin by designing a component or page in Figma. You’ll want to follow these practices to get the most functionality with your export:
- Use frames to represent containers (rather than groups or shapes).
- Use Figma’s auto-layout to define responsive layout behavior.
- Create reusable components for the elements you want to become components in your React app.
- Place illustrations, shapes, and icons in a single group per icon.
- One-click code generation: Run the plugin in either Design Mode or Dev Mode. Select a layer, then Generate code, and watch as it creates a React component and CSS module for your selection, along with essential React template files.
- Seamless integration with Replit: Create a working React Repl by choosing Export to Replit. This opens Replit. Choose the “Node.js” template if prompted, and view your newly generated Repl containing your React application. (You can also choose to inspect the generated files in the plugin and copy the code to your clipboard.)
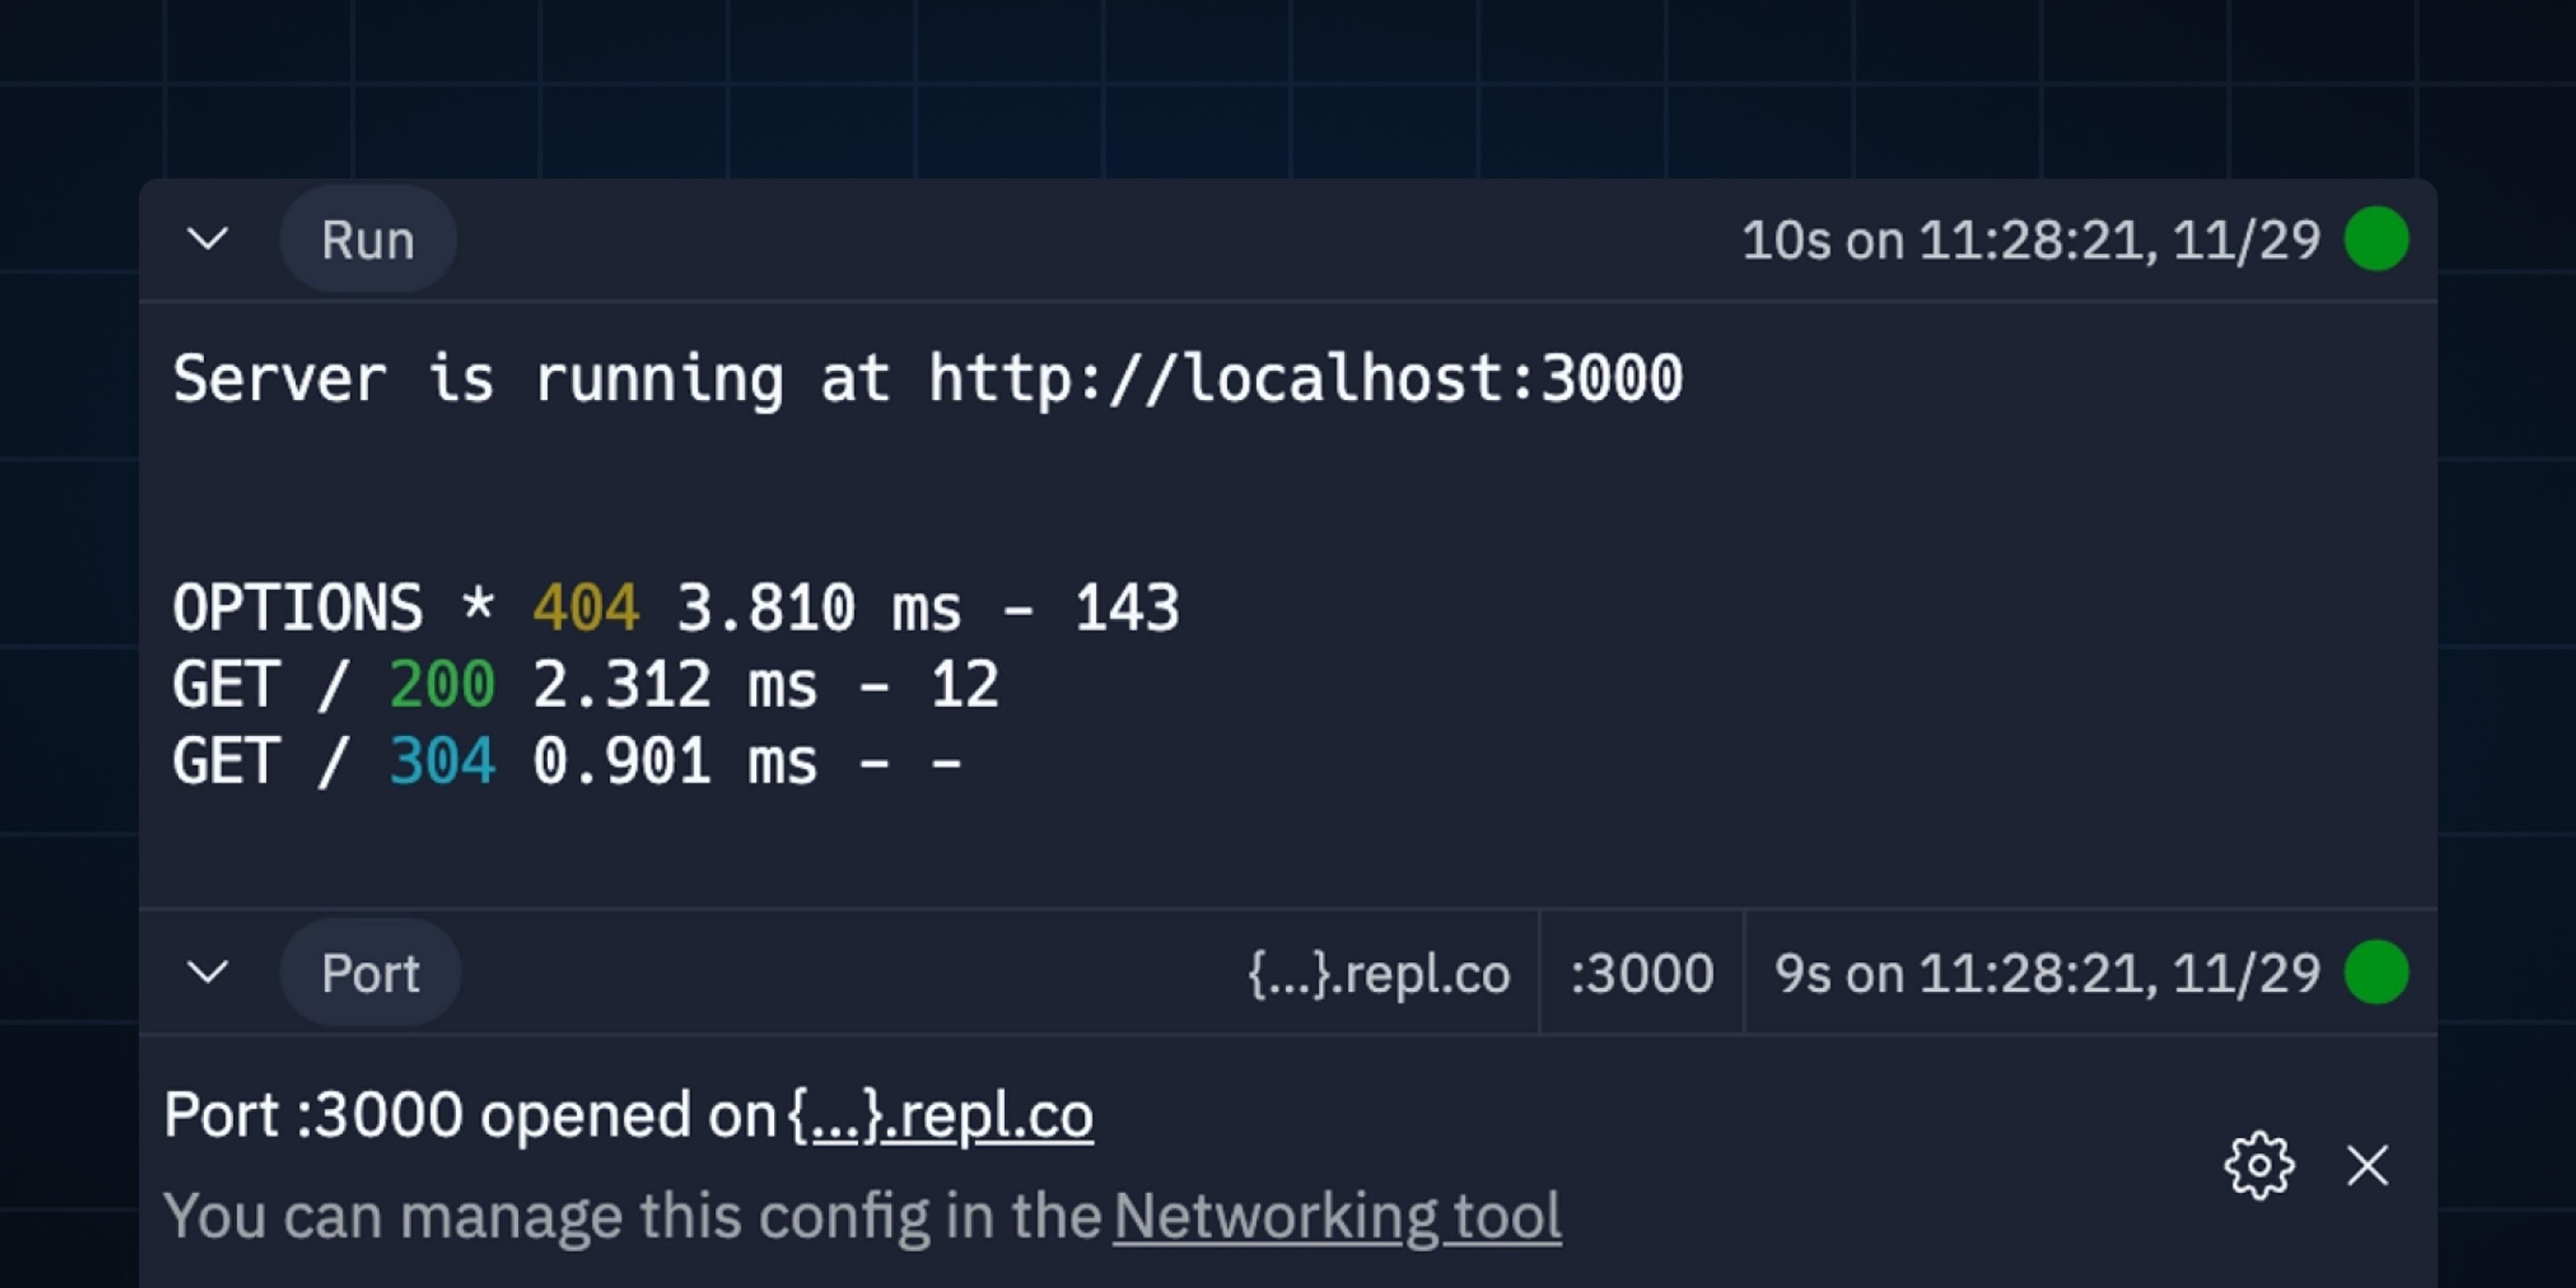
- Prototype or polish: You now have a functional, static frontend, faithfully generated according to your Figma design. Click the Run button to see a live dev link. From here, you can connect the generated code to real data for user testing or rapid prototyping. You can also refine the output for production use.
- Deploy and share quickly: Deploy your React Repl using Static Deployments to obtain a shareable URL, showcasing your component or page to your team or clients.
Understanding the limitations
While this plugin offers a good starting point for prototyping on the web, certain features are not yet supported in the code generation process:
- Semantic HTML tags are limited to div, span, or svg.
- Image fills and images are not exported.
- Integration into existing Replit projects is not supported.
- Gradients, shadows, variables, and hidden layers are not currently exported.
- Component sets and variants are not currently supported.
Pro tips for best results
To maximize the accuracy of your export:
- Apply auto-layout comprehensively, including wrapping, spacing, and constraints.
- Convert groups to frames, as groups export as SVGs.
- Flatten vector layers or create a single group with all parts and no nested groups.
- Name your layers meaningfully for developers, like component names or semantic classes.
- Minimize nested frames for more straightforward layout control.
Next steps after exporting
The code generated by this plugin is a great starting point for prototyping a web project. Here are some ideas for what to do next after exporting your design to Replit:
- Invite your engineering team to your Repl.
- Ask Replit AI to help you plan new features and create interactions.
- Share your Deployment URL with your team, clients, or users for feedback.
This plugin is an experiment, and we may not maintain or support it in the future, but we’re excited to share the first version with our developer community. Try it out, and let us know what you think! If you build something awesome and want to talk to the Replit team about it, please reach out.